
Miner or Geologist Stardew: Making the Right Level 5 Choice
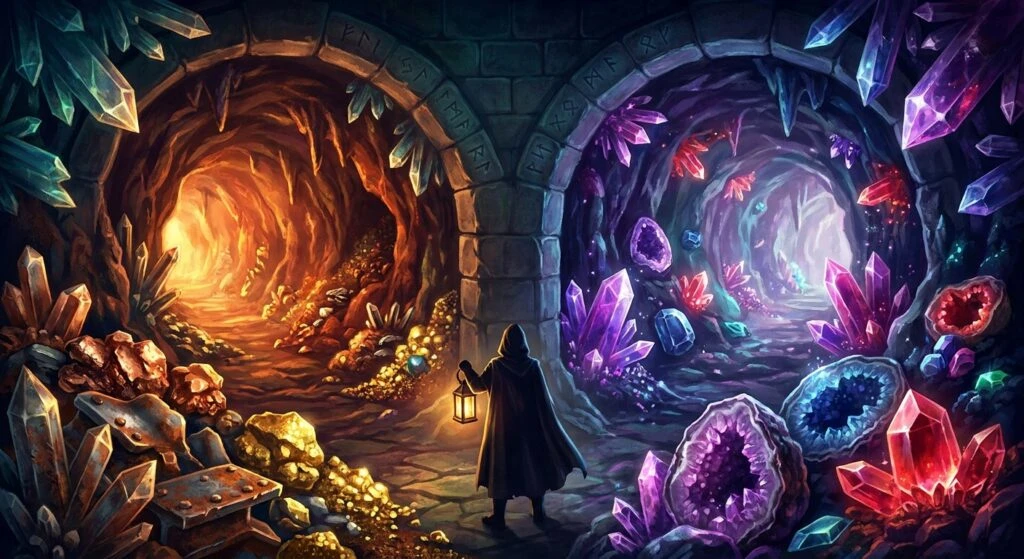
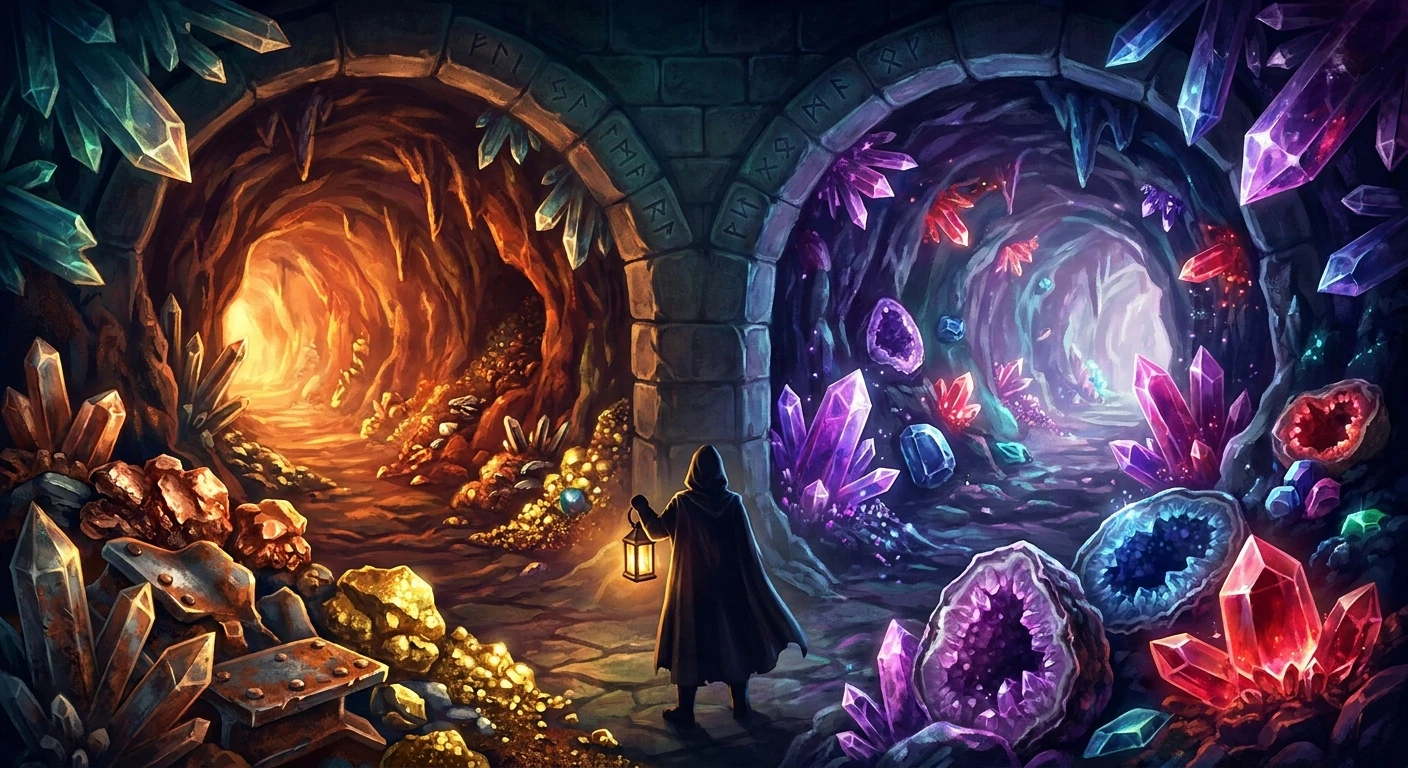
When you finally hit Mining Level 5, you face a monumental early-game decision: should you pick the Miner or Geologist Stardew professions to maximize your underground profits? This single choice dictates the rhythm of your next two seasons and heavily influences your resource management strategy. The mines of Pelican Town offer massive wealth, ranging from basic copper veins necessary for rudimentary tools to legendary prismatic shards that unlock galaxy-tier weapons. The Level 5 choice effectively locks in your trajectory toward your Level 10 options, setting up your entire infrastructure. Choosing the miner path guarantees a steady, reliable flow of raw materials, which is crucial when you are desperately trying to build an automated farming empire. Conversely, the geologist path leans heavily into long-term scaling, precious gems, and completing the museum collection. Listen, you certainly do not want to get stuck with a skill that clashes with your specific playstyle. You need a solid strategy. Navigating the dark, monster-infested levels of the local mines requires preparation. Whether you prioritize massive fields of quality sprinklers or a shed fully stocked with diamond-producing crystalariums, your Level 5 selection is the foundational bedrock of your valley economy.
Core Strategies: Evaluating Your Resource Economy
Choosing your specialization requires a deep understanding of what you actually need on your farm. The fundamental mechanics of these two branches alter how nodes behave when you strike them with your pickaxe. A miner receives exactly one extra ore per standard vein, accelerating the acquisition of copper, iron, gold, and iridium. A geologist gains a 50% chance for gems to appear in pairs, creating massive profit margins when farming diamonds, rubies, or jade. Understanding this dynamic is crucial for pacing your farm’s expansion.
Read also: Stardew Valley Rancher or Tiller: Best Farming Choice; Stardew Valley Cross Platform Status and Multiplayer Guide.
| Profession | Immediate Level 5 Benefit | Level 10 Career Options |
|---|---|---|
| Miner | +1 extra ore per standard vein | Blacksmith, Prospector |
| Geologist | 50% chance for double gem drops | Excavator, Gemologist |
| Playstyle Fit | Infrastructure, Sprinklers, Crafting | Raw Cash, Museum, Late Game Trades |
To fully grasp the value proposition here, consider the rigorous demands of automated farming. For example, crafting a massive grid of Quality Sprinklers requires an enormous amount of iron and gold bars. A player who selects the miner skill can farm these materials significantly faster, shaving days off the grind. Alternatively, consider the late-game strategy of crystalarium farms. Once you start duplicating diamonds for pure profit or jade to trade for staircases with the Desert Trader, having the geologist branch (and its subsequent level 10 upgrades) scales your wealth exponentially.
Assess your current farm run by asking yourself these critical questions:
- Count your immediate copper and iron needs. Are you constantly running out of materials for tappers, kegs, and basic farm machinery?
- Assess your geode stockpile. Are you struggling to find new artifacts for Gunther’s museum collection, or do you have plenty of unprocessed geodes waiting for the blacksmith?
- Look at your Skull Cavern readiness. Do you need hundreds of bombs and mega-bombs (requiring massive ore deposits), or are you planning to bypass levels using traded staircases?
The Origins of Stardew Mining Mechanics
Origins of the Profession System
The core mechanics of the game’s mining system have always required a delicate balance between extracting raw materials and unearthing precious stones. When the game first launched, the community hotly debated the optimal path. Early strategies predominantly favored pure ore extraction because the sheer volume of metal required to upgrade tools, build artisan equipment, and construct farm buildings was overwhelming. Players recognized that securing basic resources early created a snowball effect, allowing for rapid agricultural expansion without worrying about daily watering chores.
The Evolution of Player Strategies
As massive content updates rolled out over the years, the strategic landscape shifted considerably. The introduction of the Desert Trader fundamentally altered how veteran players approached dungeon diving. Trading jade on Sundays for staircases became the definitive method for reaching the deepest, most lucrative floors of the Skull Cavern. This mechanic heavily buffed the late-game viability of gem-focused builds. Suddenly, stockpiling gems was no longer just about shipping them for flat gold; it became a tactical necessity for high-level cavern exploration and securing endless iridium.
The Modern State of the Skull Cavern Meta
Today, the late-game meta involves intricate planning around the Forge on Ginger Island and extreme deep dives into the desert. While the need for raw ore never truly disappears, the sheer utility of gems, geodes, and specialized minerals has elevated the gemological path to top-tier status for endgame perfectionists. Veteran players often start with an ore-focused build to rush their mid-game infrastructure, then seamlessly transition to a gem-focused build once their basic automation is running flawlessly. Understanding this historical shift provides incredible context for your current farm file.
The Mathematics of RNG and Double Drops
The Mechanics of Probability
To truly master the subterranean economy, you must understand the underlying mathematics of resource generation. The 50% probability assigned to double gem drops is a massive statistical advantage over a long playthrough. When you strike a diamond node, the game calculates a flat coin flip. If you win, the node yields two diamonds instead of one. Over the course of clearing hundreds of floors and breaking thousands of rocks, this exact mathematical probability ensures a 50% increase in total gem yield. This scaling is purely exponential when paired with high luck days and specialized food buffs.
Resource Scaling and Economy Optimization
Conversely, the ore path utilizes a flat integer addition rather than a percentage-based multiplier. A standard copper node typically drops between one and three pieces of ore. Adding a guaranteed +1 to this roll means you receive between two and four pieces. If a node originally rolled a single piece, the +1 addition represents a 100% increase in yield. If it rolled three, the addition represents a 33% increase. This flattens the variance of your mining runs, ensuring that every trip into the darkness yields a strictly predictable, reliable quantity of metal.
- The 50% exact mathematical probability for pairing gems creates massive profit spikes over extended mining sessions.
- The +1 flat integer addition per standard ore node permanently reduces the time required to smelt five-piece bars.
- Geode drop algorithms synergize heavily with the Excavator multiplier, accelerating artifact recovery.
- Crystalarium duplication cycles operate independently of professions, but the initial seed gems are gathered much faster with gem skills.
7-Step Guide to Maximizing Your Level 5 Mining Choice
Step 1: Push for Level 5 Before the First Summer
Timing is everything. Your primary objective during the first Spring is to reach level 40 of the local mines and achieve mining level 5. Doing this guarantees you have the raw materials required to craft quality sprinklers exactly when your summer crops, like blueberries and melons, need to be planted. Rushing this milestone prevents energy depletion from manual watering.
Step 2: Stockpile Standard Geodes Early
Regardless of the path you plan to take, hoarding geodes during the early weeks is a stellar tactic. If you eventually select the gemological route and aim for the Excavator perk at level 10, saving your geodes ensures you get maximum value when you finally crack them open at the blacksmith’s anvil.
Step 3: Evaluate Your Quality Sprinkler Needs
Count your available farming tiles. Every quality sprinkler requires one iron bar, one gold bar, and one refined quartz. If you are aiming for a massive plantation, the sheer volume of required ore makes the metal-focused profession almost mandatory for the short term.
Step 4: Make the Miner or Geologist Stardew Decision
When the screen pauses and the prompt appears, make your choice based strictly on your immediate bottleneck. If your chests are empty of copper and iron, choose the metal path. If you have already secured enough sprinklers and want to start building a high-value museum or gift treasury, select the gem path.
Step 5: Plan for the Level 10 Transition
Your level 5 choice is only half the battle. You must constantly plan for level 10. If you chose metal, you will soon decide between Blacksmith (bars sell for more) or Prospector (double coal). For purely functional farms, Prospector is universally praised because coal is the ultimate bottleneck for massive smelting operations.
Step 6: Unlock the Statue of Perfection
By the start of Year 3, Grandpa’s evaluation will likely award you the Statue of Perfection, which generates pure iridium ore daily. Once this statue is active, your reliance on manual ore extraction drops dramatically, heavily altering the value of your early-game skill selections.
Step 7: Utilize the Sewers for Skill Swapping
Never feel permanently trapped by your early decisions. Once you unlock the town sewers by donating enough artifacts to Gunther, you gain access to the Statue of Uncertainty. For a fee of 10,000 gold, you can reset your mining profession overnight, allowing you to seamlessly pivot from an early-game metal build to a late-game gem build.
Debunking Common Underground Myths
Myth: The metal-focused skill becomes entirely useless once you unlock the mountain Quarry.
Reality: The Quarry spawns nodes incredibly slowly and randomly. It cannot replace the rapid, high-volume extraction required for massive crafting projects; fast cavern dives remain strictly superior.
Myth: The gemological skill provides double drops from regular, plain stone rocks.
Reality: The skill applies exclusively to specialized gem nodes and geode nodes. Breaking plain gray rocks in the dirt will not suddenly spawn paired diamonds or rubies.
Myth: You are permanently locked into your level 5 choice for the entire duration of your farm file.
Reality: The Statue of Uncertainty located deep in the sewers allows you to completely switch your skills for 10,000 gold, giving you total strategic flexibility.
Myth: The Gemologist level 10 perk makes all gems worth exactly twice as much gold.
Reality: The perk adds a flat 30% value increase to shipped gems. While this is a substantial economic boost, it is not a pure double multiplier.
Frequently Asked Questions & Conclusion
Does the gem profession affect Prismatic Shards?
Yes, absolutely. If a Prismatic Shard drops from a broken mystic stone or an iridium node, the 50% chance for a double drop applies, potentially yielding two of the rarest items in the game simultaneously.
Does the ore profession provide extra coal drops?
No, the level 5 skill only applies to raw metal ores. However, selecting it unlocks the level 10 Prospector branch, which explicitly doubles your chances of finding coal.
Which path is better for surviving the Skull Cavern?
Early on, the metal path is far superior because you need hundreds of ingots to craft bombs and explosive ammo. Later, the gem path becomes better for trading jade for instant staircases.
Can you double geodes directly from nodes?
You can receive double geodes from nodes if you take the gem path. Furthermore, the level 10 Excavator branch doubles the sheer volume of geodes you find globally.
Do I explicitly need the metal profession to farm iridium?
No, you do not absolutely need it, but it grants exactly +1 iridium ore every time you break an iridium node in the desert, drastically speeding up your final tool upgrades.
How much does it cost to reset my profession?
It costs exactly 10,000 gold. You deposit the funds at the Statue of Uncertainty in the sewers, go to sleep, and wake up to a new prompt allowing you to pick different skills.
Does the ore bonus apply to copper panning?
No, the extra ore mechanic strictly applies to nodes broken manually with a pickaxe or destroyed by placed bombs. Panning relies on entirely different drop tables.
Ultimately, selecting between the Miner or Geologist Stardew paths depends entirely on the current phase of your farm. If you want to min-max your valley, weigh the short-term crafting boom of raw metal against the long-term, exponential wealth of gems and geodes. Start your new file, grab your pickaxe, and master the underground economy today!